【九月打卡】第10天 【2022版】Vue2.5-2.6-3.0开发去哪儿网App 零基础入门到实战 第十一、十二讲
2022/9/17 4:17:21
本文主要是介绍【九月打卡】第10天 【2022版】Vue2.5-2.6-3.0开发去哪儿网App 零基础入门到实战 第十一、十二讲,对大家解决编程问题具有一定的参考价值,需要的程序猿们随着小编来一起学习吧!
课程名称: 2022持续升级 Vue3 从入门到实战 掌握完整知识体系
课程章节: Vue-cli4.0升级+Vue 3.0 项目全面升级
主讲老师: Dell
课程内容:
今天学习的内容包括:
- 卸载老版本cli:npm uninstall vue-cli -g
- 安装最新版本cli:npm install @vue-cli -g
- 创建新项目:vue create new-travel
课程收获:
11.1 心得:
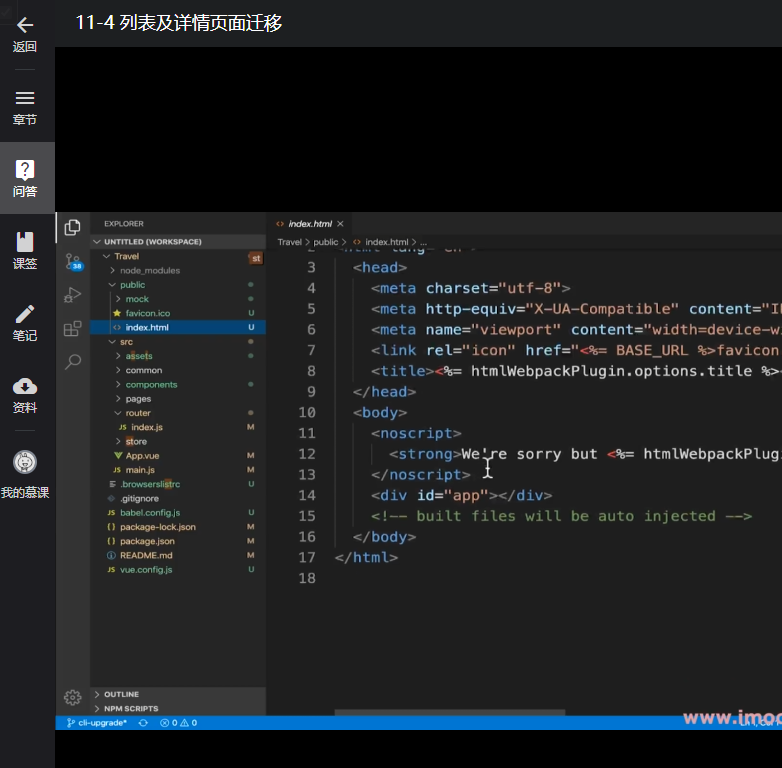
cd Travel -> git checkout cli-upgrade
除去.git/.gitignore 之外都拿出去
卸载老脚手架工具npm uninstall vue-cli-g
安装新的vue/cli npm instaill @vue/cli -g
在目标文件夹下创建新的vue 项目,vue create new-travel
人工选取,Babel/Router/Vuex/CSS pre-processors(stylus)
不用history mode
Babel,ESLint需要单独放置,所以放到config
不需要给别的项目使用
11.2 心得:
使用Vue语法进行实例创建
别名创建:
不再配置webpack,而是创建vue.config.js
const path = require('path'); //node语法

module.exports = {
  chainWebpack: (config) => {
    config.resolve.alias
      .set('styles', path.join(__dirname, './src/assets/styels/'  ))
  }
}
vue-cli4 创建vue根实例的方法( main.js )
new Vue({
router,
store,
render: h => h(App)
}).$mount('#app')
11.3 心得:
vue.config.js 配置引入的json文件默认路径
‘/public/mock’ 简写为 ‘/mock’
const path = require('path');
module.exports = {
 devServer: {
  proxy: {
   '/api':{
	 target: 'http://localhost:8080',
	 pathRewrite:{
	 '^/api':'/mock'
	 }
	}
   }
},
chainWebpack:(config) => {
 config.resolve.alias
  .set('styles',path.join(_dirname),'./src/assets/styles/'),
  .set('@',path.join(_dirname,'./src/'))
12.1 心得:
创建本地分支:git branch new-version
卸载脚手架:npm uninstall vue-cli -g
安装最新脚手架:npm install @vue-cli -g
升级最新语法:vue add vue-next
添加插件到app(main.js中):createApp(App).use(router).use(store).use(VueAwesomeSwiper).mount(’#app’)
新版本中,用this.$refs[ref名称]就可以直接访问到对应的dom元素,不用加[0]了。
新版本中,在{{}}中不要写this.xxx,直接写xxx。例如:{{this.city}}要写成{{city}}
12.2 心得:
//async await 定义异步函数
实例:
async function getInfo() {
let res = await axios.get('/api/index.json');
...
}
公用数据 vue3.0新语法
旧
import { mapState } from 'vuex'
...mapState(['city'])
新
import { useStore } from 'vuex'
setup () {
const store = useStore()
city = store.state.city
}
12.3 心得:
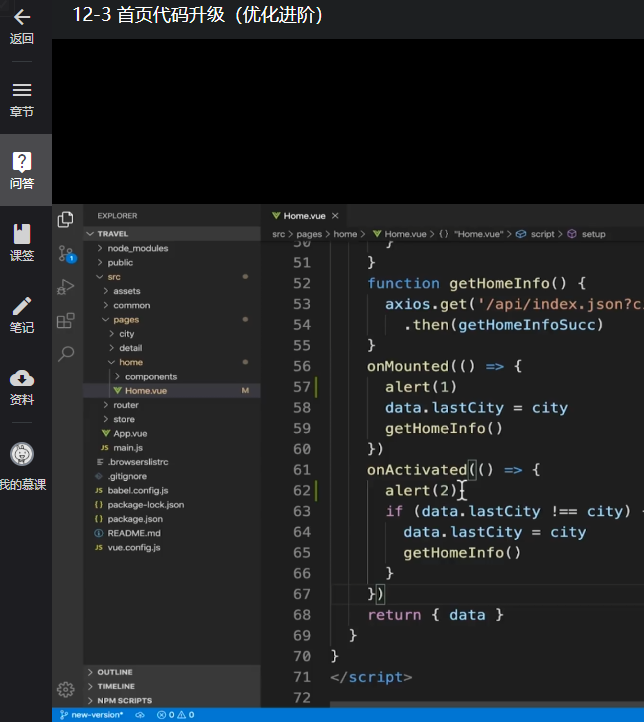
① reactive() 把一个数据对象,定义为响应式数据对象
脚本中引入: import { reactive } from 'vue'
实例:
const data = reactive({
swiperList: [],
iconList: []
})
...
data.swiperList = a
data.iconList = b
...
return { data }
模板中调用方法:{{ data.swiperList }}
② ref() 把数组/基础数据,定义为响应式
脚本中引入: import { ref } from 'vue’
实例:
const swiperList = ref([])
const iconList = ref([])
...
swiperList.value = a
iconList.value = b
...
return { swiperList, iconList }
模板中调用:{{ swiperList }}
12.4 心得:
实例:
props: {
list: Array
},
setup( props ) { //接收 props 参数
const len = props.list.length
return { len }
}
12.5 心得:
setup() {
const { letter, handleLetterC } = useLetter()
return { letter, handleLetterC }
}
function useLetter() { // 单独管理某个数据,通常用use作为前缀命名
const letter = ref('') // 处理为响应式
function handleLetterC(selected) {
letter.value = selected //用 .value获取值
}
return { letter, handleLetterC }
}
12.6 心得:
模板
<li
v-for="item of letters"
:key="item"
:ref="elem => elems[item] = elem" //新增语法,elem代表对应<li>,item代表A B C
></li>
脚本
set(props, context) { //context 类似 this
const elems = ref([]) //一定要用ref() 包装
onUpdated(() => {
startY = elems.value['A'].offsetTop //使用 .value 定义值
})
return {elems}
}
12.7 心得:
improt { watch } form 'vue'
watch(接收的需要监听的响应式数据, (value, prevValue) => {
...
})
① () => props.letter 函数式写法,自动转化为 ref()/reactive()的响应式数据
② value,prevValue 为回调参数
<p ref="search"></p>
...
import { ref } from 'vue'
setup() {
const search = ref(null) //变量名一定要与模板中ref值相同,只绑定一个数据时,初始值为null
new Bscroll( search.value, {
click: true
})
return { search }
}
12.8 心得:
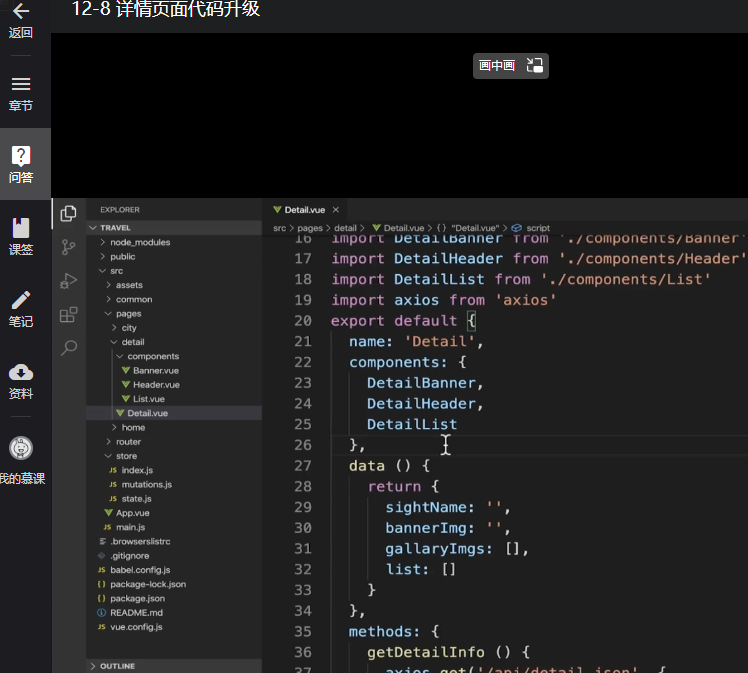
路由新语法
import { useRouter } from 'vue-router'
setup(){
const route = useRouter()
let res = axios.get('/api/detail.json', {
params: { id: route.params.id } // this.$route. 的vue3 新语法
});
}
destoryed () {} 改为vue3.0新语法
import { onUnmouted } from 'vue'
setup () {
onUnmounted(() =>{})
}
这篇关于【九月打卡】第10天 【2022版】Vue2.5-2.6-3.0开发去哪儿网App 零基础入门到实战 第十一、十二讲的文章就介绍到这儿,希望我们推荐的文章对大家有所帮助,也希望大家多多支持为之网!
- 2025-01-04React 19 来了!新的编译器简直太棒了!
- 2025-01-032025年Node.js与PHP大比拼:挑选最适合的后端技术进行现代web开发
- 2025-01-03?? 用 Gemini API、Next.js 和 TailwindCSS 快速搭建 AI 推文生成项目 ??
- 2024-12-31Vue CLI多环境配置学习入门
- 2024-12-31Vue CLI学习入门:一步一步搭建你的第一个Vue项目
- 2024-12-31Vue3公共组件学习入门:从零开始搭建实用组件库
- 2024-12-31Vue3公共组件学习入门教程
- 2024-12-31Vue3学习入门:新手必读教程
- 2024-12-31Vue3学习入门:初学者必备指南
- 2024-12-30Vue CLI多环境配置教程:轻松入门指南


