【金秋打卡】第18天 Popup组件和遮罩层实现
2022/11/11 4:23:58

本文主要是介绍【金秋打卡】第18天 Popup组件和遮罩层实现,对大家解决编程问题具有一定的参考价值,需要的程序猿们随着小编来一起学习吧!
课程名称:TypeScript封装播放器组件
课程章节: 第4章 Popup弹层组件开发 4.3 4.4
主讲老师:西门老舅
课程内容:
今天学习的内容是实现 Popup 弹层组件和遮罩层。
弹层组件
模板
通过 innerHTML 设置弹层的模板,然后将模板挂载到页面中,再根据配置对象,设置弹层组件的位置,默认是垂直水平居中对齐。
template() {
    this.tempContainer = document.createElement('div')
    this.tempContainer.className = 'popup'
    this.tempContainer.style.width = this.options.width as string
    this.tempContainer.style.height = this.options.height as string
    this.tempContainer.innerHTML = `
      <div class="popup-title">
        <h3>${this.options.title}</h3>
        <i class="iconfont icon-close"></i>
      </div>
      <div class="popup-content"></div>
    `
    // 注意:要先将容器挂载到dom中,因为后面需要计算容器本身的宽高,用到 offsetWidth,它是一个
    document.body.appendChild(this.tempContainer)

    // 处理位置
    let position = this.options.position
    if(position === 'center') {
      this.tempContainer.style.left = (window.innerWidth - this.tempContainer.offsetWidth) / 2 + 'px'
      this.tempContainer.style.top = (window.innerHeight - this.tempContainer.offsetHeight) / 2 + 'px'
    } else if(position == 'left') {
      this.tempContainer.style.left = '0px'
      this.tempContainer.style.top = (window.innerHeight - this.tempContainer.offsetHeight) / 2 + 'px'
    } else if(position == 'right') {
      this.tempContainer.style.right = '0px'
      this.tempContainer.style.top = (window.innerHeight - this.tempContainer.offsetHeight) / 2 + 'px'
    }
}
样式
.popup {
  position: fixed;
  z-index: 20;
  border: 1px solid #ddd;;
  /* background-color: goldenrod; */
}

.popup-title {
  display: flex;
  justify-content: space-between;
  align-items: center;
  height: 60px;
  padding: 0 20px;
  background-color: #fff;
}

.popup-title h3{
  font-size: 18px;
}

.popup-title i{
  font-size: 18px;
  cursor: pointer;
}

.popup-content {
  height: calc(100% - 60px);
  background-color: #fff;
}
添加遮罩层
通常在全局弹出弹窗,都会设置一个遮罩层,形成视觉上的前后对比,明暗对比效果,突出弹窗内容。
所以在弹窗组件挂载到页面中时,再生成一个遮罩层:
createMask() {
    this.maskElm = document.createElement('div')
    this.maskElm.className = 'mask'
    this.maskElm.style.width = '100vw'
    this.maskElm.style.height = '100vh'
    document.body.appendChild(this.maskElm)
}
遮罩层样式:
.mask {
  position: absolute;
  left: 0;
  top: 0;
  z-index: 10;
  background-color: rgba(0, 0, 0, .5);
}
遮罩层生效后禁止鼠标滚动
当遮罩层层添加后,理论上此时再滚动鼠标滚轮,页面也应该不发生滚动。所以给遮罩层添加一个鼠标滚动事件的监听,阻止其默认事件。
createMask() {
   // ......
   this.maskElm.addEventListener('wheel', (event)=>{
      event.preventDefault()
    })
}
课程收获
这节课完成了弹层组件的开发,效果是当触发某个事件时弹出带遮罩的弹层,默认位置居中。其中涉及到一些 DOM API 的使用。这门课程大概是两年前左右的课程了。老师提到一句话,说是现在很多人写 React,写 Vue 多了就忘了基本的 DOM 操作了。其实框架再高深,底层还是要去用原生 JS 去操作 DOM。这是前端工程师的基操,到什么时候都不能忘本。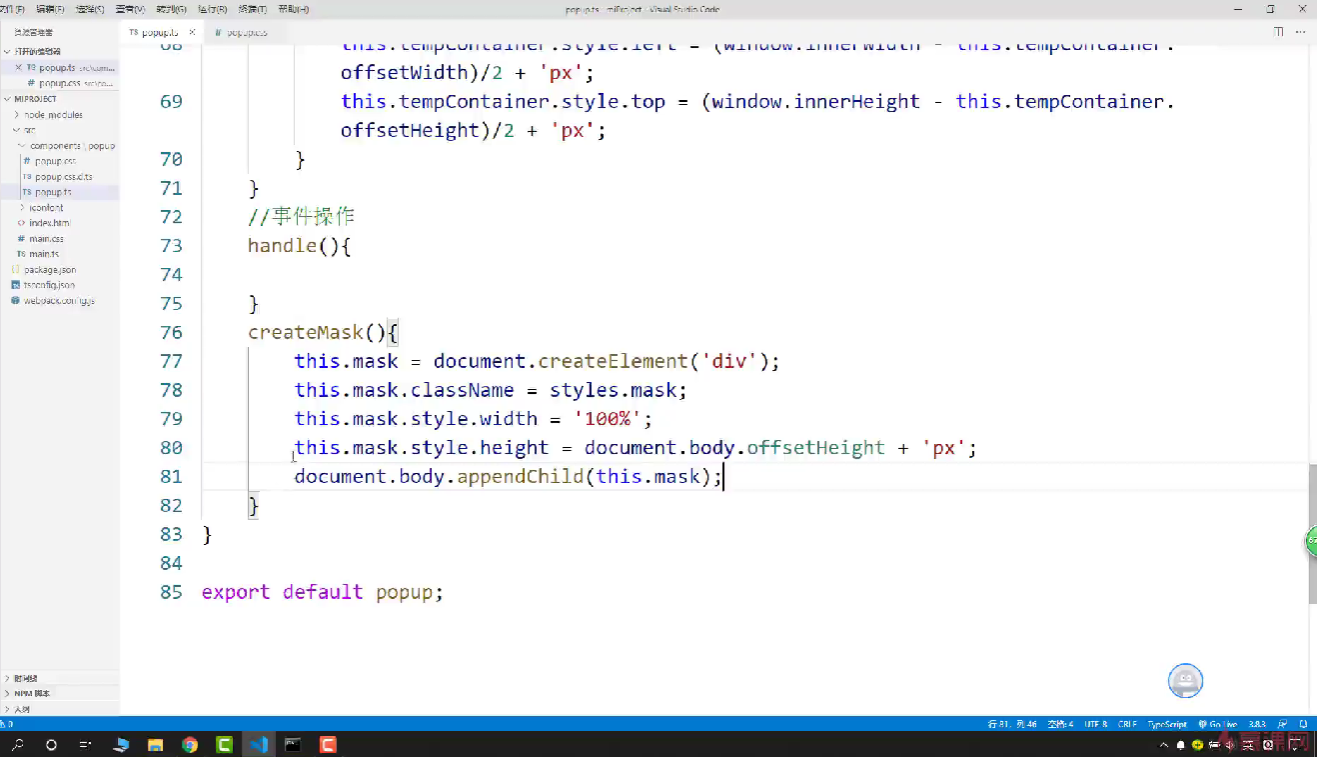
这篇关于【金秋打卡】第18天 Popup组件和遮罩层实现的文章就介绍到这儿,希望我们推荐的文章对大家有所帮助,也希望大家多多支持为之网!
- 2024-05-15鸿蒙生态设备数量超8亿台
- 2024-05-13TiDB + ES:转转业财系统亿级数据存储优化实践
- 2024-05-09“2024鸿蒙零基础快速实战-仿抖音App开发(ArkTS版)”实战课程已上线
- 2024-05-09聊聊如何通过arthas-tunnel-server来远程管理所有需要arthas监控的应用
- 2024-05-09log4j2这么配就对了
- 2024-05-09nginx修改Content-Type
- 2024-05-09Redis多数据源,看这篇就够了
- 2024-05-09Google Chrome驱动程序 124.0.6367.62(正式版本)去哪下载?
- 2024-05-09有没有大佬知道这种数据应该怎么抓取呀?
- 2024-05-09这种运行结果里的10.100000001,怎么能最快改成10.1?


